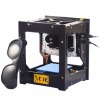
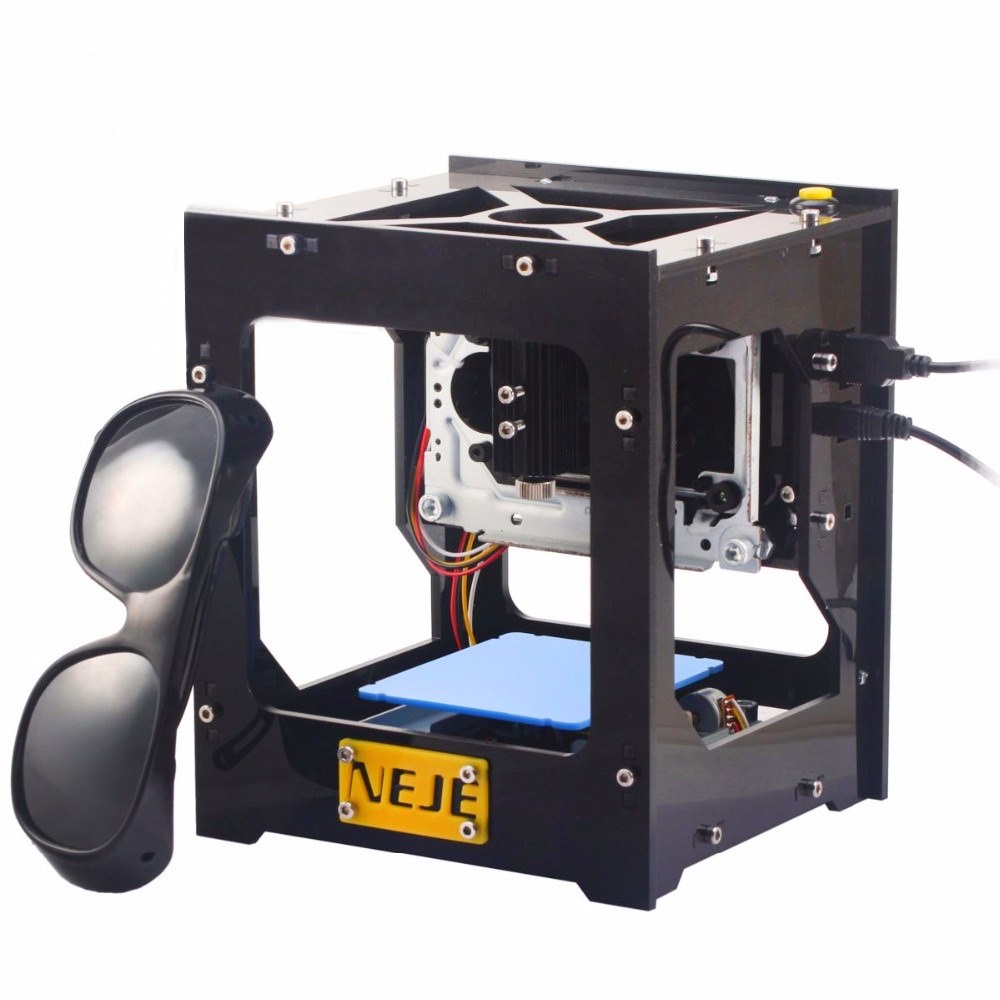
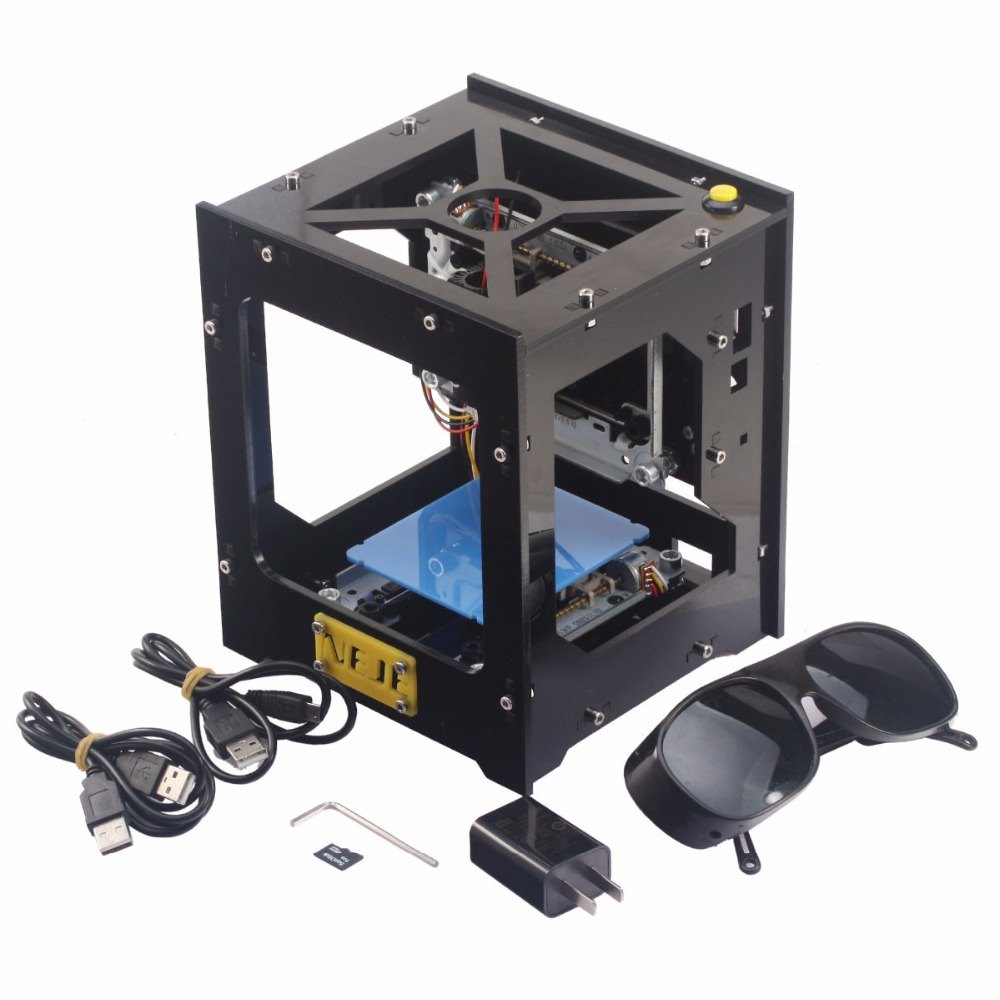
Laser engraver DK-8 Pro-5 from NEJE with a power of 500mW is perfect for engraving (burning) various inscriptions and logos. It can work on wood, cardboard, paper, leather, plastic, rubber.
Since the laser has a low power, this engraver CANNOT engrave on metal, aluminum, acrylic! The maximum image size is 38x38mm.
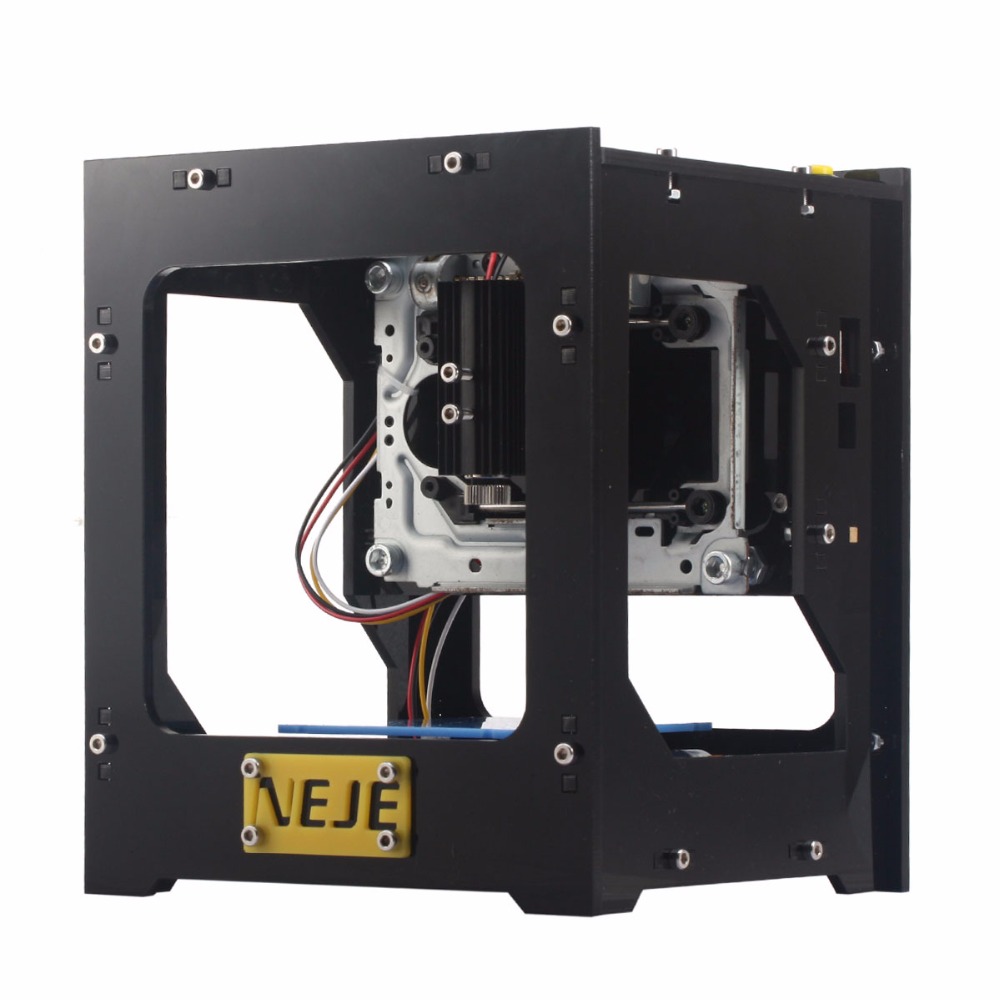
Made in an acrylic protective case, movable mechanics and fixtures are made of aluminum and stainless steel.
Main characteristics:
-
Model: DK-8 Pro-5
-
Supported OS: win XP, win7, win8, win10, Mac OS 10.9
-
Power:500mw
-
DPI: 350dpi
-
Laser wavelength: 405nm
-
Temperature: about 400 degrees Celsius
-
Supported image formats: JPEG, BMP (24 bit only), TIFF, PNG (32 bit or less), PCX (8 bit and 24 bit RLE), PCD
-
Image size: 512x512
-
Engraving area: 38 x 38 mm
-
Maximum engraving height: 70mm
-
Engraving mode: Raster thread
-
Input: Dual USB (5V)
-
Maximum current consumption: 1A
-
Voltage: 4.2-5.5V
-
Frame materials: Acrylic+Aluminum+Stainless steel
-
Engraver weight: 985 grams
-
Engraver size: 15x16x19 cm
Preparing for work:
1. Remove all consequences of transportation - fastening tape and polyethylene spacers.
2. Check that the laser module is securely fastened. To do this, you need to use the included key and squeeze the laser loose in the heat sink, as well as, if necessary, other elements of the case.
3. Connect the memory card that comes with the kit to the computer. Install the Driver.exe and Microsoft.NET.exe driver on the computer, for those who have not yet installed the .NET Framework. And launch the LaserCarver program. If, over time, the card gets lost or is used in another device, the software can always be downloaded on the Internet at the manufacturer's website.
4. Connect the engraver to a computer. There are two USB sockets on the board. We plug the cable from the power supply into the socket with a standard size, which comes in the kit. In the miniUSB connector we plug the corresponding cable into the computer. The sequence doesn't matter. In confirmation of docking, the computer will display a corresponding message, and the engraver will wink with a green diode. At the same time, a faint violet laser spot appears on the site. If the drivers are not installed automatically, then you need to specify the path to the "Driver" folder manually.
5. That's it, the laser is ready to work. Let's go to the LaserCarver program.
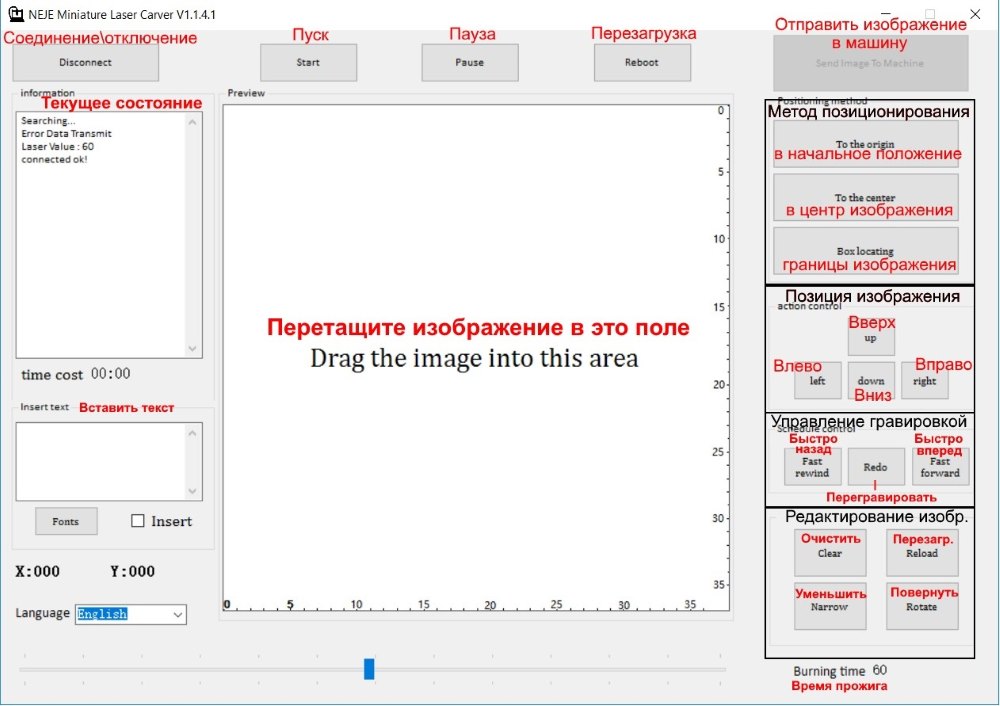
Program interface:
Setting up and first launch:
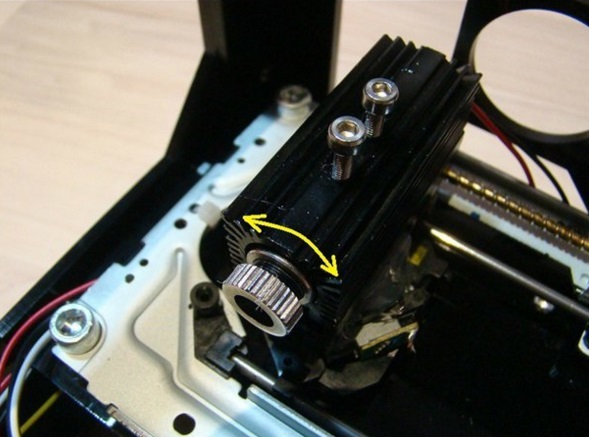
1. Place the engraved object in the tray and fix it with rubber bands. Adjust the lens so that the point is as small as possible on the object. It is necessary to turn the calibration ring at the head of the laser until the beam is optimally focused.
2. Select a picture and hold down the left mouse button, drop it into the program. The program will automatically reduce it to the required size. We send the picture to the machine (by pressing the corresponding button) and press the print zone preview button and make sure that the laser does not go beyond the object zones, use the up and down keys, etc. to adjust the engraving location.
3. Then below use the slider to select the burning time (standard value 60), the longer the time, the longer the laser stays at a certain point and burns the surface more powerfully. Then we press the start button (before that, you need to put on glasses) and observe how the laser briskly jumps and the picture fills with red as the engraving is performed.
4. During engraving, you can change the burn time, if visible, that the part is not burned through, or, on the contrary, burns out. Engraving time from 5 to 30 minutes, depending on the pattern.


 The data presented in the product description are for reference only and may differ from those indicated by the manufacturer.