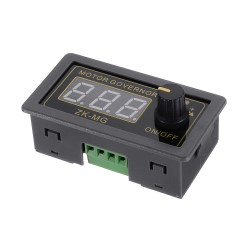
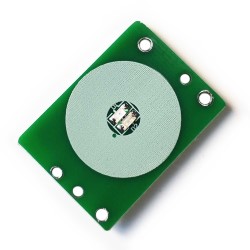
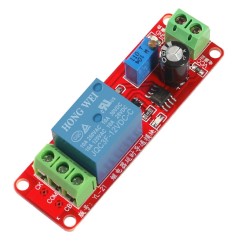
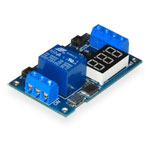
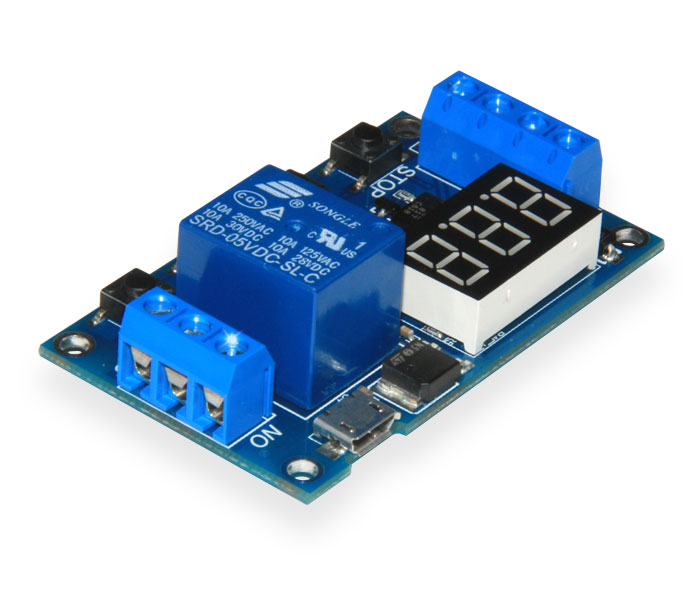
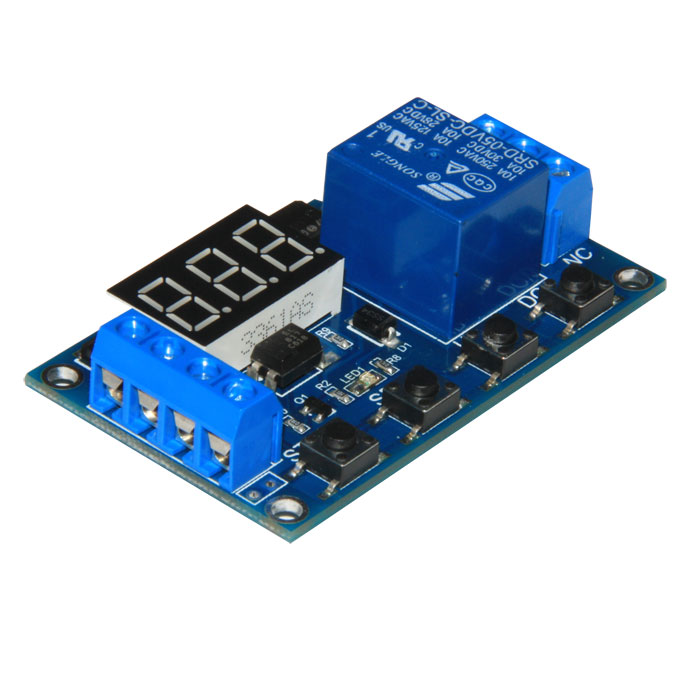
Configurable time relay, suitable for periodically switching on ventilation, heating, lighting, water pumps and other devices.
It is possible to set up to be triggered by an external trigger.
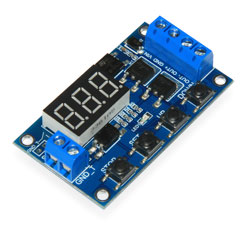
Has a LED display indicator current time report, operating mode and settings.
Specifications:
-
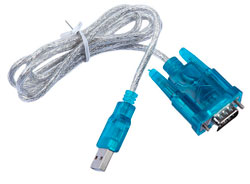
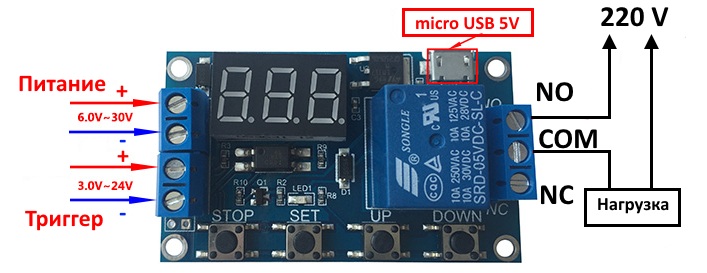
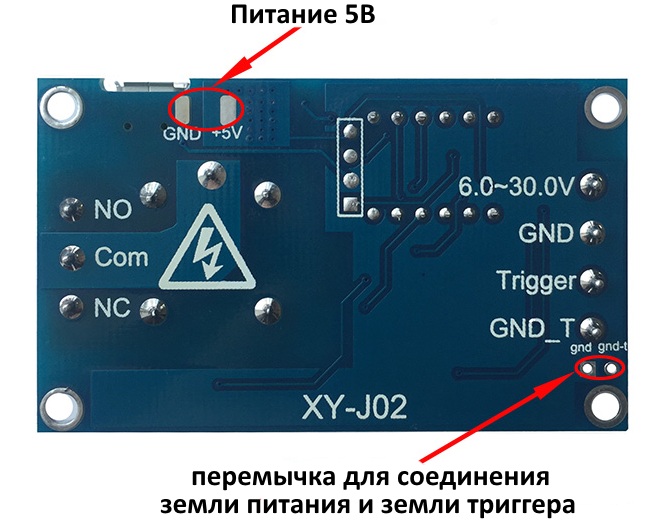
Wide power supply range 6 - 30V, connectivity via MicroUSB 5V
-
Current consumption: 20 mA , in closed state: 50 mA
-
Ability to control the load of 30V 5A DC and 220V 5A AC
-
Operating temperature: from -40C to 85C
-
Fine tuning of the operating time relay and downtime
-
Time interval: 0.1s-999min.
-
Possibility of cyclic repetition of switching on and off the relay
-
Number of cycle operations: 1-999 and mode endless repetition.
-
Possibility of starting the timer with an external signal through the Trigger input
-
Trigger trigger voltage: 3-24V.
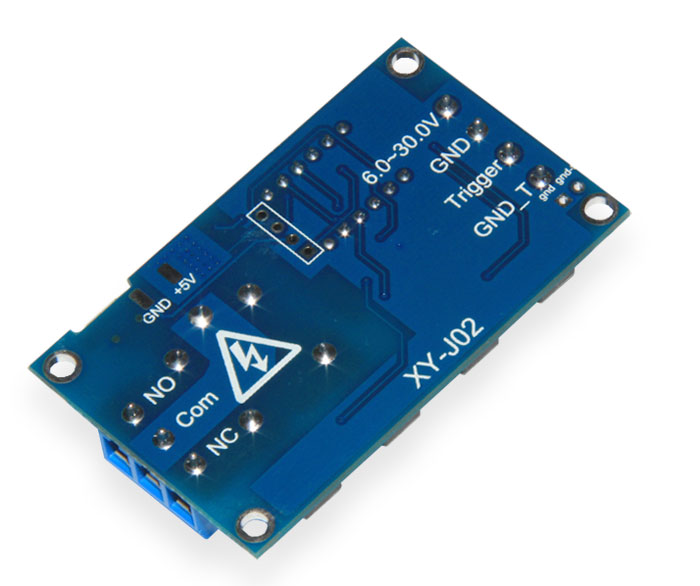
Connections:
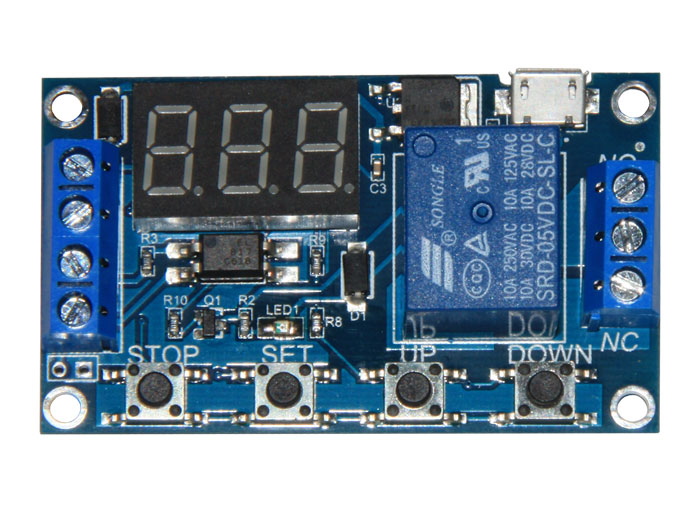
Relay programming instruction:
The relay has several modes, the relay can work only in one of the modes, to change the mode, you must press the button SET to 1 second and release,
now using the buttons UP (top) and DOWN (bottom) we select the required mode and confirm the selection with a short press of the button SET.
The list of modes and their purpose is described below:
P1.1 - In this mode, the relay is open by default, when a logical unit (from 3V to 24V) is applied to the port Trigger, the relay immediately closes and starts the countdown set in the parameter OP, after the countdown ends - the relay turns off.
P1.2 - In this mode, the relay is also turned off by default, when a signal is sent to the Trigger port, the relay closes and starts counting specified in the parameter OP, after the end of the countdown, the relay turns off as in the P1.1 mode, but before the time expires we can start counting the time from the beginning a, by sending a signal to the port again Trigger.
P1.3 - In this mode, the relay is off by default, after power is applied to Trigger the relay is turned on and the time specified in the parameter starts counting OP ... After the countdown, the relay will turn off in the previous mode, but we can also interrupt the timer and open the relay ahead of time if we re-send a signal to the port Trigger.
P-2 - this mode is triggered when a logical signal is applied to Trigger, executes once and waits for the next logical unit feed. When a logical unit is supplied, the time relay first waits for the time set for the open state CL, and after this time has elapsed, it closes the relay and waits for the time set for the closed state OP. Then it opens the relay again and waits for the next signal to be sent to Trigger, setting the number of repetitions is not available here.
P3.1 - this mode is similar to P-2 except for a few things, when a logical unit is applied to the port Trigger the relay switches immediately into a closed state and not an open one, you can also specify the number of repetitions in this mode LOP. If, after the relay is triggered by a signal on Trigger, the relay starts to work and without completing all the cycles we send a signal to the port Trigger, then this signal will stop the operation of the relay mode, the relay will turn off and the counting of cycles will end.
P3.2 - this mode is triggered immediately after power is applied to the relay, while the relay immediately goes into closed mode, counts down the time specified for closed mode OP, then the relay opens and the time specified for open mode CL, all this is repeated as specified in the parameter LOP the number of times, if infinity is specified (---), then the relay will repeat these actions indefinitely.
P4 - in this mode, the relay is disabled by default, when a signal is applied to Trigger, the relay immediately closes. The relay will be closed as long as the signal on Trigger is given, as soon as the signal on Trigger stops, the relay does not turn off immediately, the timer set to OP , as soon as the countdown ends, the relay turns off.
Immediately after connecting the power to the relay, the display shows the current operating mode.
______________
Now after we have selected with the button SET The desired mode, you will be automatically switched to the settings of the relay actuation time.
In these settings, we can change three functions:
OP - The time the relay is in the closed state
CL - The time the relay is in the open state
LOP - The number of repetitions (cycles) of switching on/off the relay
To set the values of each of the functions, select one of them by pressing the button SET After which it will light up, blink 3 times, and then you can set its values. If you need another function, just press the button SET again, in other words the button SET is now scrolling through these 3 functions. After we have selected the desired function, we have three numbers with which we can configure our function according to the instructions below:
OP function (closed state):
Needed in order to set the time during which our relay will be closed.
Now we have three digits on the display, this is the operating time of our relay, if we press the buttons UP and DOWN, then we can change it to a larger one or the smaller side.
As you may have noticed, in addition to the numbers, we also display the bit point.
If this point is only after the third digit, then we set the time in seconds.
If the dot is after the second digit, then we set the time in 0.1 seconds (tenths of milliseconds)
If we have 3 dots, then we set the time in minutes.
In order to change the position of the points, you need to shortly press the button STOP. After setting the required time, go to the next function setting by short pressing the button SET, or save the mode setting by long pressing the button SET.
CL function (open state):
Configurable exactly as well as function OP. Only here we set the time during which our relay will be in the open state.
In the same way, the display shows 3 digits, which, depending on the location of the point, can mean seconds, 0.1 seconds and minutes. In the same way, with the button STOP we change the location of the point.
LOP function (number of repetitions):
And finally, the last function is responsible for the number of repetitions of open and closed cycles relay status. Here we can only specify the number of repetitions from 1 to 999 using the buttons UP and DOWN, if we want the cycles to repeat indefinitely, then it is necessary to set a value less than 1, then the display will show - - (3 dashes)
After you have set the time for the open and closed state of the relay, as well as the number of repetitions, you can save the settings by long pressing (2-3 sec) the button SET, after Releasing the button SET the display will flash the selected mode 3 times.
It remains only to start the operation of the relay by pressing the button STOP, while the screen will display the inscription ON, another press of the button STOP will turn off the operation of the relay and the display will show OFF.


_250x281.jpg)
 The data presented in the product description are for reference only and may differ from those indicated by the manufacturer.