Pulse metal detector - a kit for building a metal detector that finds ferrous and non-ferrous objects.
Technical specifications:
Detection depth for a Soviet 5 kopeck coin: 18 — 20 cm
Detection depth for large objects: 100 — 150 cm
Supply voltage: 9 — 14 B
Current consumption: 60 — 70 mA
Peak current consumption: 1 — 2 A
Board dimensions: 45 X 52 mm
Device description
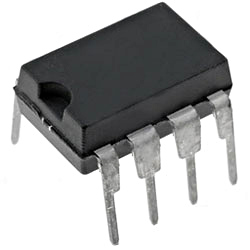
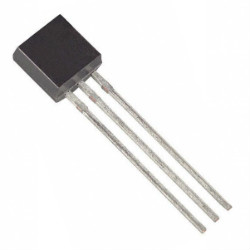
The device has two parts: transmitter and receiver. The transmitter consists of an NE555 pulse generator and a powerful BC547 switch. The excitation signal is periodically sent to the sensor coil as pulses 125-150 µs long at 125-150 Hz. Decaying eddy currents are induced in conductive objects, creating a decaying electromagnetic field. Depending on the object's conductivity and size, the signal changes its shape and duration.
Schematic diagram
Component layout
Making the search coil
To make the search coil you need a rigid non-metallic former Ø 200-250 mm, 20 meters of enameled copper winding wire PEV (Ø0.4 - 0.6 mm) and 120 - 150 cm of insulated stranded copper wire 2x1.5 mm2 to connect the coil to the board. Wind 25 turns of winding wire tightly on the former. Secure the wire ends and solder them via the stranded insulated wire to the L1 contacts on the board. Assemble the amplifier according to the instructions included with the kit. Component locations and values are given in the instructions.
Assembling and tuning the metal detector
Solder an 8 Ohm 0.5 W speaker to the SP1 contacts. Apply 9-14V power to the P1 contacts (preferably from a 12 V 1.2 Ah battery). After switching on, turn trimmer R8 to find the position where the clicks in the speaker are quietest and the noise has not yet started to rise, then repeat more precisely with potentiometer R9; maximum sensitivity is at the threshold where sound appears. Sensitivity can be improved by changing the number of coil turns. With a 250 mm former and Ø0.5 mm winding wire this is about 14 turns. After tuning, the coil can be made rigid by wrapping it with tape or electrical tape or impregnating it with epoxy. Assemble the amplifier according to the instructions included with the kit. Component locations and values are given in the instructions.
Only registered users can leave feedback and ask questions
The data presented in the product description are for reference only and may differ from those indicated by the manufacturer.
To carry out technical calculations and obtain the exact parameters of the goods, use the datasheets from the manufacturer's website.
If you need additional information, or you found an error in the description, or have other questions about this product, then our manager will help you: Денис - Днепр
unknown








 K-158


 The data presented in the product description are for reference only and may differ from those indicated by the manufacturer.